Showing posts with label Cookies. Show all posts

Thursday, June 14, 2012

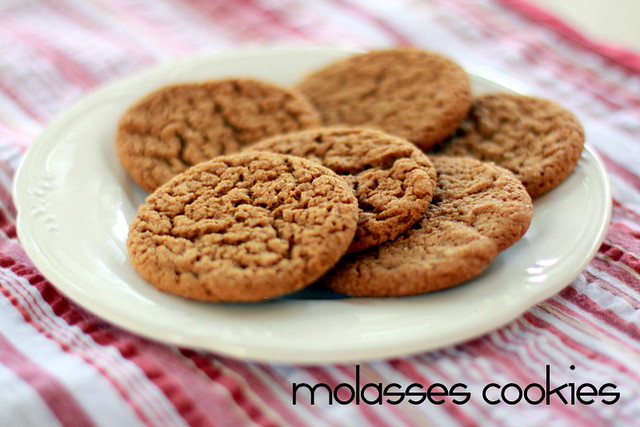
molasses cookies

When I was growing up, I had a best friend named Kathy.  I would spend a week in the summer at her farm.  Her mom had a lot of homestyle foods that she made.  One of the recipes she made, was this molasses cookie recipe.  It's so delicious and yummy.

IMG_8814

List of Ingredients

3/4 cup shortening
1 cup sugar
1 egg
3/4 cup molasses
2 1/4 cup sifted flour
2 tsp baking soda
1/4 tsp salt
1 tsp cinnamon
3/4 tsp ground cloves
3/4 tsp ginger


Mix together.  Form into balls and roll in granulated sugar (this is extra sugar on top of what you will put in the recipe).  Bake at 350 degrees for 8-12 minutes on ungreased pan.

Amy's Notes:  I love Grandma's brand of molasses.  I also had a hard time figuring out when to take the cookies out of the oven because they're already brown!  That being said, I actually went to the 12 minute mark before I took them out, and they didn't burn.  These are the firm, yet chewy type of cookie.  I also used parchment paper to place my cookies on in the oven ... like I do all my cookies!

Thursday, January 19, 2012

Seven Layer Bars (7 layer bars)

I have heard of these 7 layer bars (or seven layer bars) ... and thought I'd try it out last week. 

They were gone in a day and a half.  My family LOVED this recipe!  Not to mention super easy to make.

Actually, for me, it's a 6 layer bar.  I didn't add nuts to it.  I'm not fond of nuts in my food.  Separate?  Yes.  In my food?  No.

Here is the recipe (from Eagle Brand)

1 1/2 c graham cracker crumbs
1/2 c butter/margarine
1 can sweeten condensed milk
1 c chocolate chips
1 c butterscotch chips
1 1/3 c coconut
Preheat oven to 350.  Melt the margarine/butter and then mix it with the crumbs.  Spray a 9x13 pan with Pam, and then add the crumb mixture, pressing down.  Pour half of the sweetened condensed milk over the crumbs.  Add the chocolate chips, butterscotch chips and coconut (nuts too... if you wish).  Finally, pour the rest of the milk over the top, and then back for 25 minutes or until light brown on top.

Let it sit for 10 minutes, and then take a knife and lightly make indentions on where you want the bars to be cut.  Let sit for another 10 minutes, then place in the fridge.  Cutting it will be much easier when it is cold and hardened.

I also took pictures!!  (surprise surprise!)

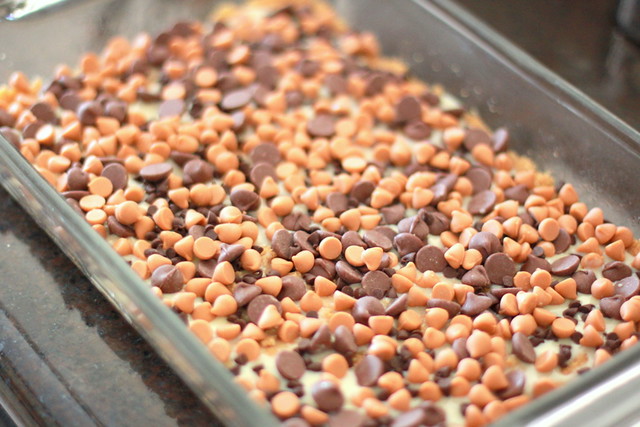
IMG_3775

Yummm.... look at it up close!
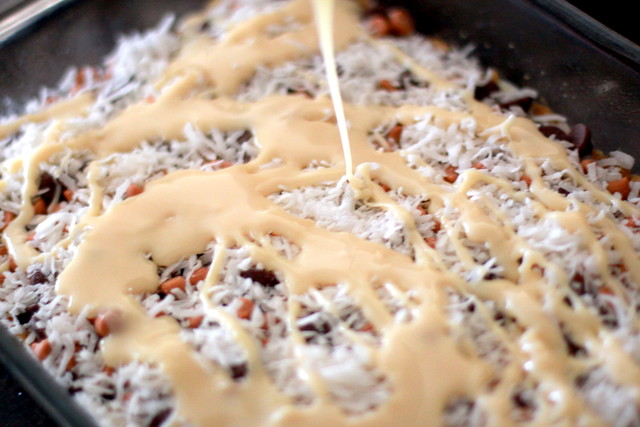
IMG_3776

Spreading the rest of the milk on top.
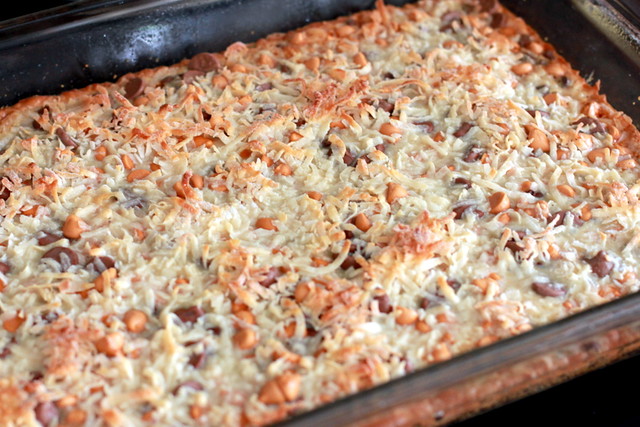
IMG_3780

What it looks like when it comes out of the oven!
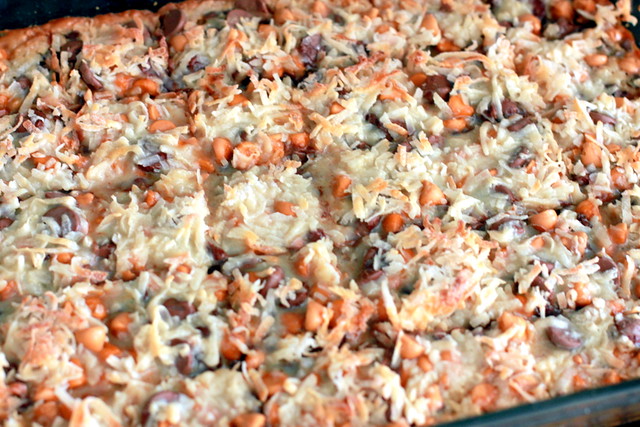
IMG_3797

Wait about 10 minutes after pulling from the oven.  Then, lightly cut into squares (I managed to get 35 bars).  Let it sit for a bit longer, then place in the fridge for a few hours.  You'll be able to cut into bars MUCH easier when it's cold since it has already been cut.

IMG_3798

Thursday, January 5, 2012

Mistletoe Cookies

A few years ago a dear neighbor brought me these green cookies shaped as a wreath with red hots as the ornaments.  I loved them.  Over a year ago, another friend brought these same cookies to a church activity, and I remembered that I loved them.

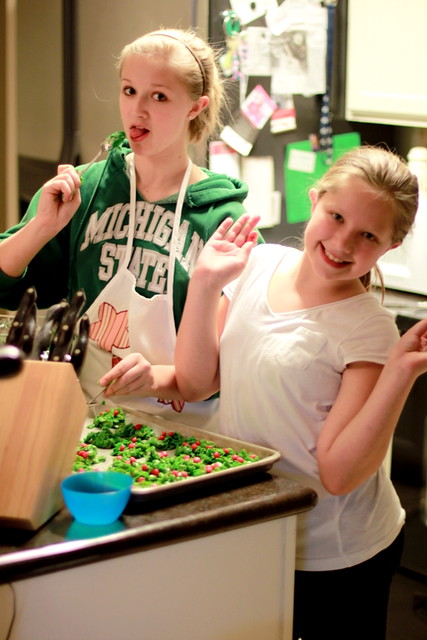
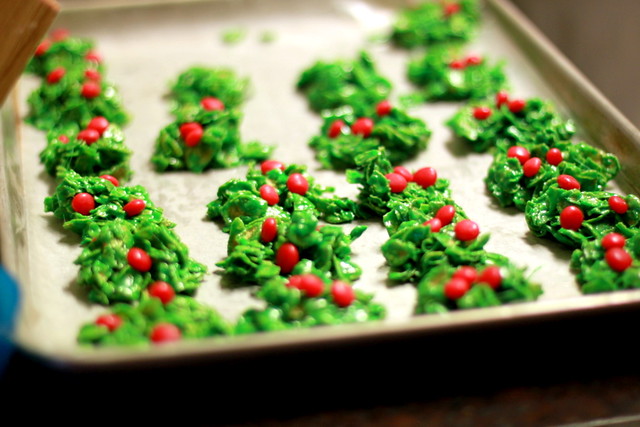
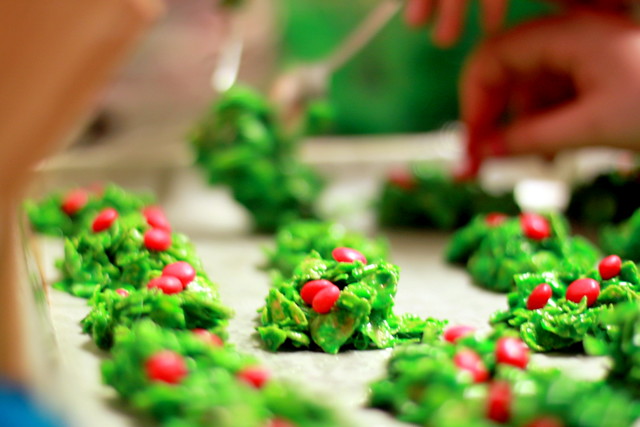
So this year, the girls and I decided to make them on Christmas Eve.  Only .... the wreath part didn't happen (the circle part).  It just was too messy to make them into circles.  So we just plopped them down on the wax paper ... and I called them Christmas Blobs.
IMG_3321

When we took the cookies to a dinner on Christmas at a friend's house, one of the husbands said "hey, these look like mistletoes!" so we renamed them Mistletoe Cookies!

We love them!  Here is the recipe (I got it from allrecipes)
  • 1/2 cup butter
  • 4 cups miniature marshmallows
  • 1 tsp green food coloring
  • 1/2 tsp almond extract
  • 1/2 tsp vanilla extract
  • 4 cups cornflake cereal
  • 1 package cinnamon red hot candies
  1. Microwave marshmallows and butter on High for 2 minutes. Stir, then microwave on High for 2 minutes more. Stir. 
  2. Add and mix quickly the coloring, extracts, then cornflakes. Drop by spoonfuls in clumps on greased wax paper and decorate with 3 red hots each.                
  3. Once cool, transfer to lightly greased serving/storage tray with lightly greased fingers.

IMG_3324

IMG_3327

Tuesday, December 13, 2011

Sierra Nuggets (aka ... full of spices chocolate chip cookies)

Many many years ago when I was a little girl, my aunt made these cookies.  I fell in love.  Their spices just created an amazing explosion in my mouth.  I make these every December for Christmas == but are good anytime of the year!  The ingredients are out of this world -- but I promise, they are extremely good!
DIRECTIONS
Preheat oven to 350 degrees.
CREAM TOGETHER:
1 c butter      1 c brown sugar     1 1/2 c sugar
ADD:
1 Tbsp milk    1 1/2 tsp vanilla
BEAT & ADD:
2 eggs
STIR IN:
1 c corn flakes (dry & crumbled)      3 c oats
SIFT TOGETHER THEN ADD:
1 1/2 c flour
1 1/4 tsp baking soda
1 tsp salt
1/2 tsp mace
1 1/2 tsp cinnamon
1/4 tsp nutmeg
1/8 tsp ground cloves
STIR IN:
4 oz coconut     1 pkg chocolate chips
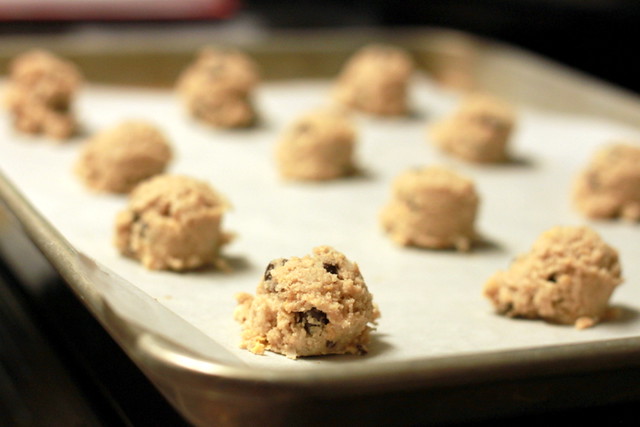
Drop by well rounded teaspoons onto greased cookie sheet (or parchment paper).  Bake 10 minutes or until done.  Yields 8 dozen.
IMG_2682
AMY'S NOTES:  I did not sift all those dry ingredients... I added them to the mixture and they turned out fine.  I also always bake w/ parchment paper -- I never have to grease the cookie sheet or anything, and my cookies always turn out perfect!  It always states that it yields 8 dozen... but w/ my cookie scooper, it yields maybe 5 1/2 dozen?  If you make them smaller, then for sure it will make that many.  I also found that my time needed 11 minutes -- wait until it gets a little bit golden before you take them out.
IMG_2689
Another side note:  Since I didn't want to make the entire batch of cookies in one time, I used my cookie scooper and dropped them into a mini muffin pan and placed it in the freezer.  When they froze completely, I took them out with a spoon, and put in a freezer bag.  Now I'm able to make a few cookies at a time whenever I want!

IMG_2686

Saturday, April 16, 2011

Whoopie Pies!!

I had to laugh when I titled this post "Making Whoopie Pies."  I almost titled it "Making Whoopie", and then thought that probably sounded a little dirty... and totally inappropriate from a mom who blogs mostly about her girls....

It seems like Whoopie Pies are everywhere these days.  I see them advertised at my gas station of all places, they're featured in magazines!  Featured on blogs!  So, I decided they must be really really awesome, and when I saw the recipe in my February Family Fun magazine, I knew I had to get my little baker and get to baking.

So we did!  And we learned a lot!  First lesson to learn?  READ ALL THE DIRECTIONS THOROUGHLY!  Remember in 5th grade where you get a paper that has all these questions on it, and you answer away and think "wow, I'm SO going to ace this quiz!"  Then when you get to the bottom, the last question said "do not answer any of these questions, and turn into the teacher now."  gulp  Oops.  FAILED big time!

Now, I am trying to teach Maddie how to read a recipe, and when I realized that we were doing it incorrectly, it was a great teaching experience.  Now I hung my head in shame....  and happily, they still turned out wonderfully! 

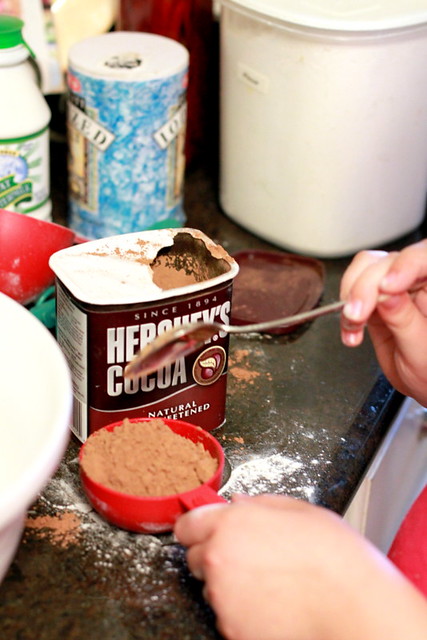
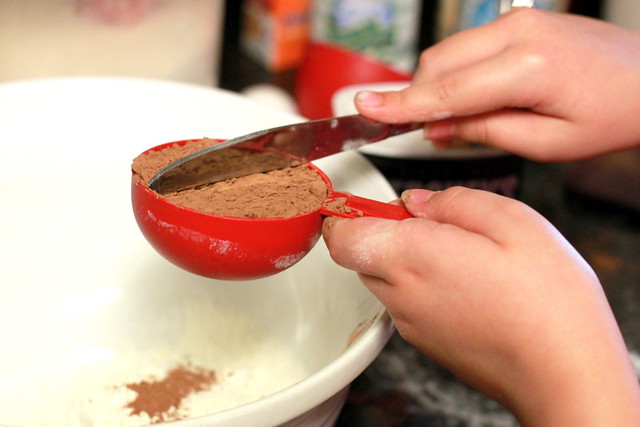
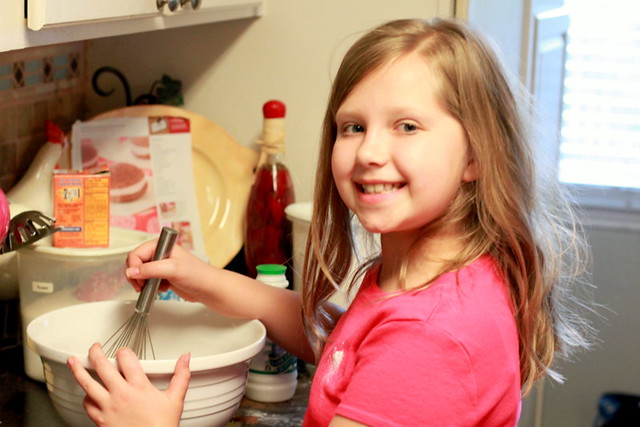
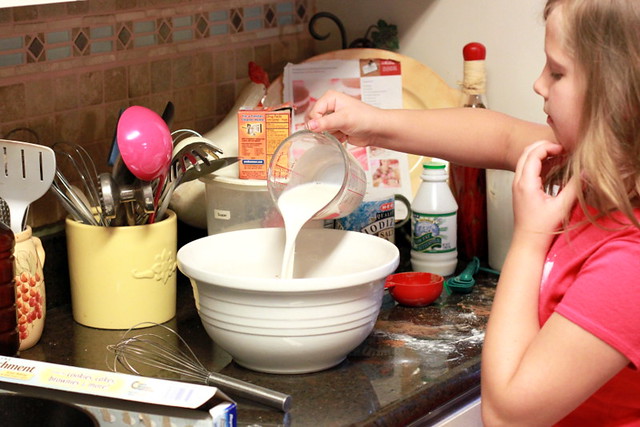
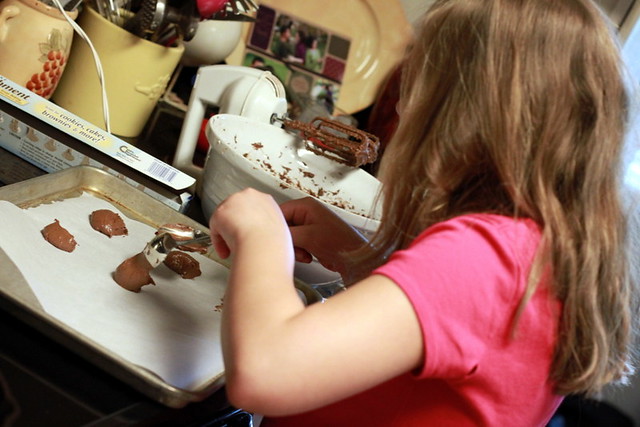
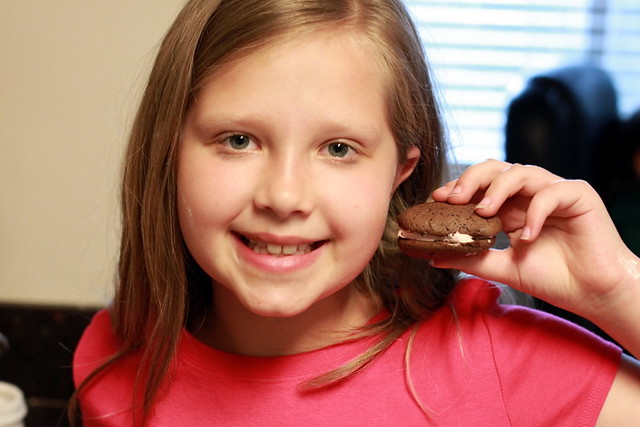
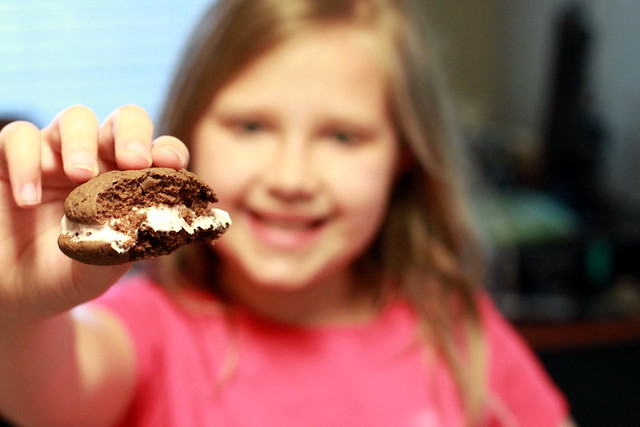
I was practicing my photography with my camera on manual -- so I used this opportunity to snap pictures of Maddie in action.

IMG_2260


IMG_2261


IMG_2271


we did an "oops" here.....

IMG_2272


IMG_2274


IMG_2276


IMG_2287

I love all the flour on her face!

IMG_2280


IMG_2285


You can get the recipe complete with pictures on the Family Fun website, but I transferred it over for you as well.
 Cake
    • 2 cups flour
    • ½ cup unsweetened cocoa powder
    • 1 teaspoon baking soda
    • ½ teaspoon salt
    • 1 cup buttermilk
    • 1 teaspoon vanilla extract
    • ½ cup softened butter
    • 1 cup sugar
    • 1 egg
FILLING
    • ½ cup softened butter
    • 1½ cups confectioners' sugar
    • 1 cup marshmallow crème
    • 1 teaspoon vanilla
    • Red food coloring (optional)
1)  Heat the oven to 350°. Line two baking sheets with parchment paper.

2)  In a medium bowl, whisk together the flour, cocoa powder, baking soda, and salt. In a glass measuring cup or small bowl, stir together the buttermilk and vanilla extract.

3)  In a large bowl with a hand mixer set at medium speed, beat the butter and sugar until evenly blended, about 1 to 2 minutes. Add the egg, increase the speed to high, and beat until smooth and creamy, about 1 minute more.

4)   Pour half the flour mixture into the butter-sugar mixture, and beat at medium speed until combined. Add the buttermilk mixture and continue beating until just blended. Add the remaining flour mixture and beat again.

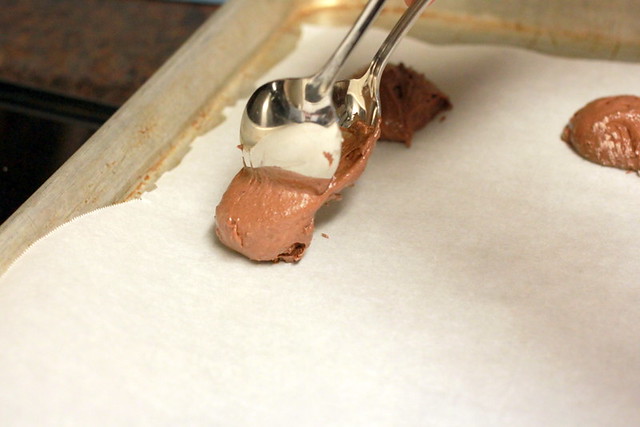
5)  Use a cookie scoop or spoon to place a heaping tablespoon of batter on a prepared cookie sheet. Add more mounds of batter, evenly spacing them, until there are nine on each sheet. Slightly flatten each mound with a spoon.

 6)  Bake the cakes one sheet at a time for 10 minutes (they should be moist and spongy). Let them cool on the sheet for 2 minutes, then carefully transfer them to a rack to cool completely. Reline the sheets and scoop, shape, and bake the remaining batter.

7)  Using an electric mixer at medium-high speed, beat all the filling ingredients except the coloring in a medium bowl until evenly blended, about 2 minutes. If you want to give the filling a Valentine hue, fold in drops of red food coloring until the desired tint is reached.
 
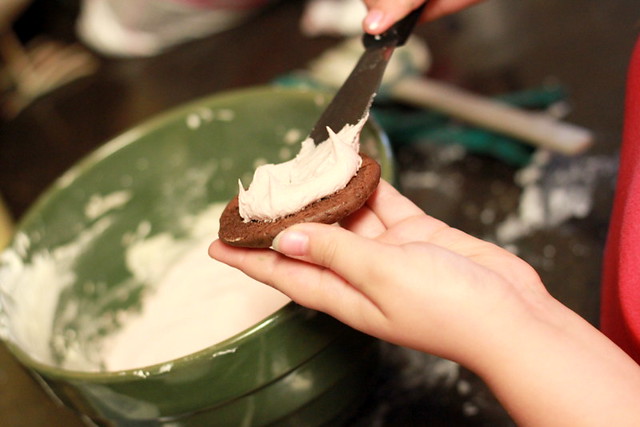
8)  To make each pie, spoon and spread a heaping tablespoon of the filling onto the bottom of a cake, then gently press another cake on top.
Tuesday, September 14, 2010

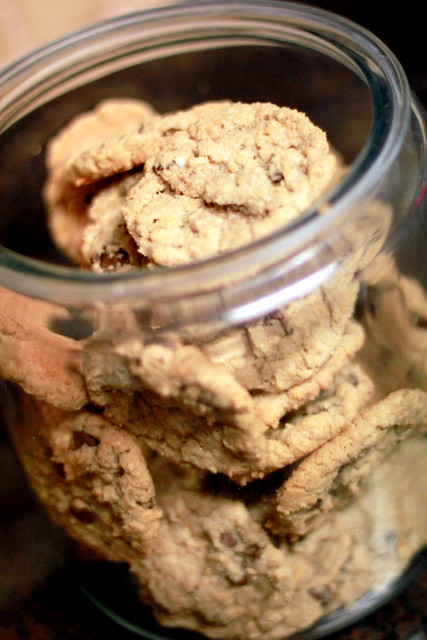
Good for You Choc-Oat-Chip Cookies

I found this recipe years ago in a magazine, of which I can't even remember. However, it is SO delicious, and slightly a little healthier than a regular version of a chocolate chip recipe!

Ingredients:
1 3/4 c flour
1 tsp baking soda
1/2 tsp cinnamon
1/2 tsp salt
1 1/4 c dk brown sugar
1/2 c sugar
1 stick margarine
1/2 c applesauce, unsweetened
2 egg whites
2 1/2 c oats
12 oz chocolate chips

Combine flour, soda, cinnamon & salt in small bowl. Beat brown sugar, sugar, margarine & applesauce in large bowl until smooth. Beat in egg whites & vanilla; gradually beat in flour mixture. Stir in oats, chips & if you prefer.... nuts. Drop onto greased baking sheet. Bake in preheated oven at 375 for 9-10 minutes for chewy cookies, or 12-13 minutes for crispy.

Amy's Notes:
I'm such a dork sometimes. I didn't read the directions all the way through, and tossed everything in a bowl starting with the flour. Guess what?! IT WAS FINE!!! I also didn't have margarine, just butter. I also didn't have unsweetened applesauce, so I used applesauce with cinnamon. I also didn't have dark brown sugar... just light brown. All in all, they tasted AMAZINGLY awesome! Oh, and I used parchment paper to bake the cookies on.... for 10 minutes for chewy! Take them out before they get brown!!

Sunday, January 10, 2010

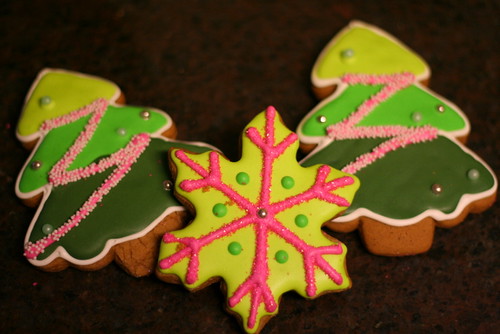
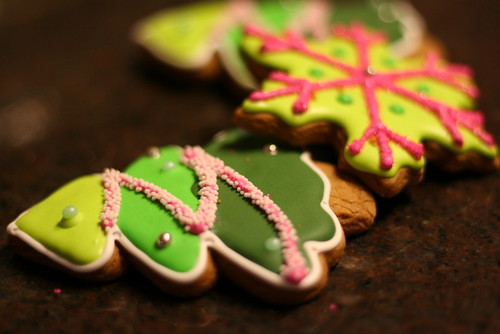
the most beautiful gingerbread cookies ever

my friend kristen is amazing. she came in carting these type of cookies at church one sunday for the young women. i was jealous. they were too beautiful to eat! then one day, katie babysat for kristen, and came home with a bag of these babies! they were the best gingerbread cookies i have ever eaten! i took several pictures because they were simply a work of art.... and i begged kristen for the recipe. she was so sweet, and she gave me the recipe! i have a few other recipes of hers to share later on as well! she said she got it from her husband's aunt, who got it from possibly the mormon essentials cookbook. Enjoy!

Cast of Characters
aka ingredients

5 to 5 1/2 c flour

1 tsp salt
1 tsp b soda
2 tsp ginger
2 tsp cinnamon
1 tsp nutmeg
1 tsp cloves
1 c shortening
1 c sugar
1 1/4 c unsulphered molasses
(Kristen prefers Brer Rabbit Full Flavor, but couldn't find it, so used Grandma's)

2 eggs, beaten

Melt shortening in large saucepan until just melted, not hot. Add in order: sugar, molasses and eggs; mix well. Cool slightly, then add four cups dry ingredients and mix well. Turn mixture onto lightly floured surface. Knead in remaining dry ingredients by hand. Add a little more flour, if necessary, to make a firm dough.

Roll out dough- bake @ 350 for 10-12 minutes


i will post the royal icing recipe she used shortly!

Sunday, October 11, 2009

{Pumpkin Chocolate Chip Cookies}

My mom made pumpkin chocolate chip cookies every Thanksgiving (well, maybe a few years she made them). She used mini chocolate chips in it, and they were "oh... SO moist!" I fell in love with them. But, I kept hearing several friends tell me "try THIS recipe, it's the BEST", and so this year, I am trying a new recipe. It's my friend Rachel's recipe. I had to change it around a bit due to some of the ingredients I was short on, but it still is a very moist, yummy cookie!!

Ingredients
1 c butter
1 c shortening
2 c sugar
2 c pumpkin
2 eggs
2 c chocolate chips
4 c flour
2 tsp baking soda
2 tsp cinnamon
1 tsp salt

Cream shortening, sugar, pumpkin and eggs. Add dry ingredients. Stir in chocolate chips, Bake until light brown (about 10 minutes). Bake at 350 for 10 min.
Amy's notes: I used mini chocolate chips, a full 12 oz bag. That way, you definitely get SOME chocolate on each cookie. Also, this cookie does not spread while baking. So, when usually you can get 12 cookies on a cookie sheet, you can get about 18-20 cookies or even more b/c you can space them together very closely. This entire recipe makes about 5-7 dozen (I stopped counting b/c I was eating them as I was baking.....)

Sunday, August 2, 2009

caribbean lime coolers

This recipe was featured in Betty Crocker's Cookies & Bars magazine this month, and it is out of this world! So delicious! If you love anything citrusy, then THIS is your cookie to try!


Caribbean Lime Coolers
(makes 2 1/2 dozen)


1 pouch (1 lb 1.5 oz) Betty Crocker sugar cookie mix
1/2 c coconut
1 tbsp grated lime peel (about 1 lime)
3 tablespoons lime juice (or about 2 limes)
6 tbsp butter or margarine, melted
1 egg
1/4 c powdered sugar


1. Heat oven to 350 degrees. In large bowl, stir cookie mix, coconut, lime juice, lime peel, butter & egg until soft dough forms.
2. On ungreased cookie sheets (I used parchment paper), drop dough by level tablespoons 2 inches apart (or do like Maddie did to get 4 dozen: make them really really tiny)
3. Bake 9-13 minutes or until edges are light golden brown. Cool 1 minute; remove from cookie sheets to cooling racks. Cool completely, about 15 minutes.
4. With small strainer, sift powdered sugar over cooled cookies. Store covered @ room temperature.
Related Posts with Thumbnails